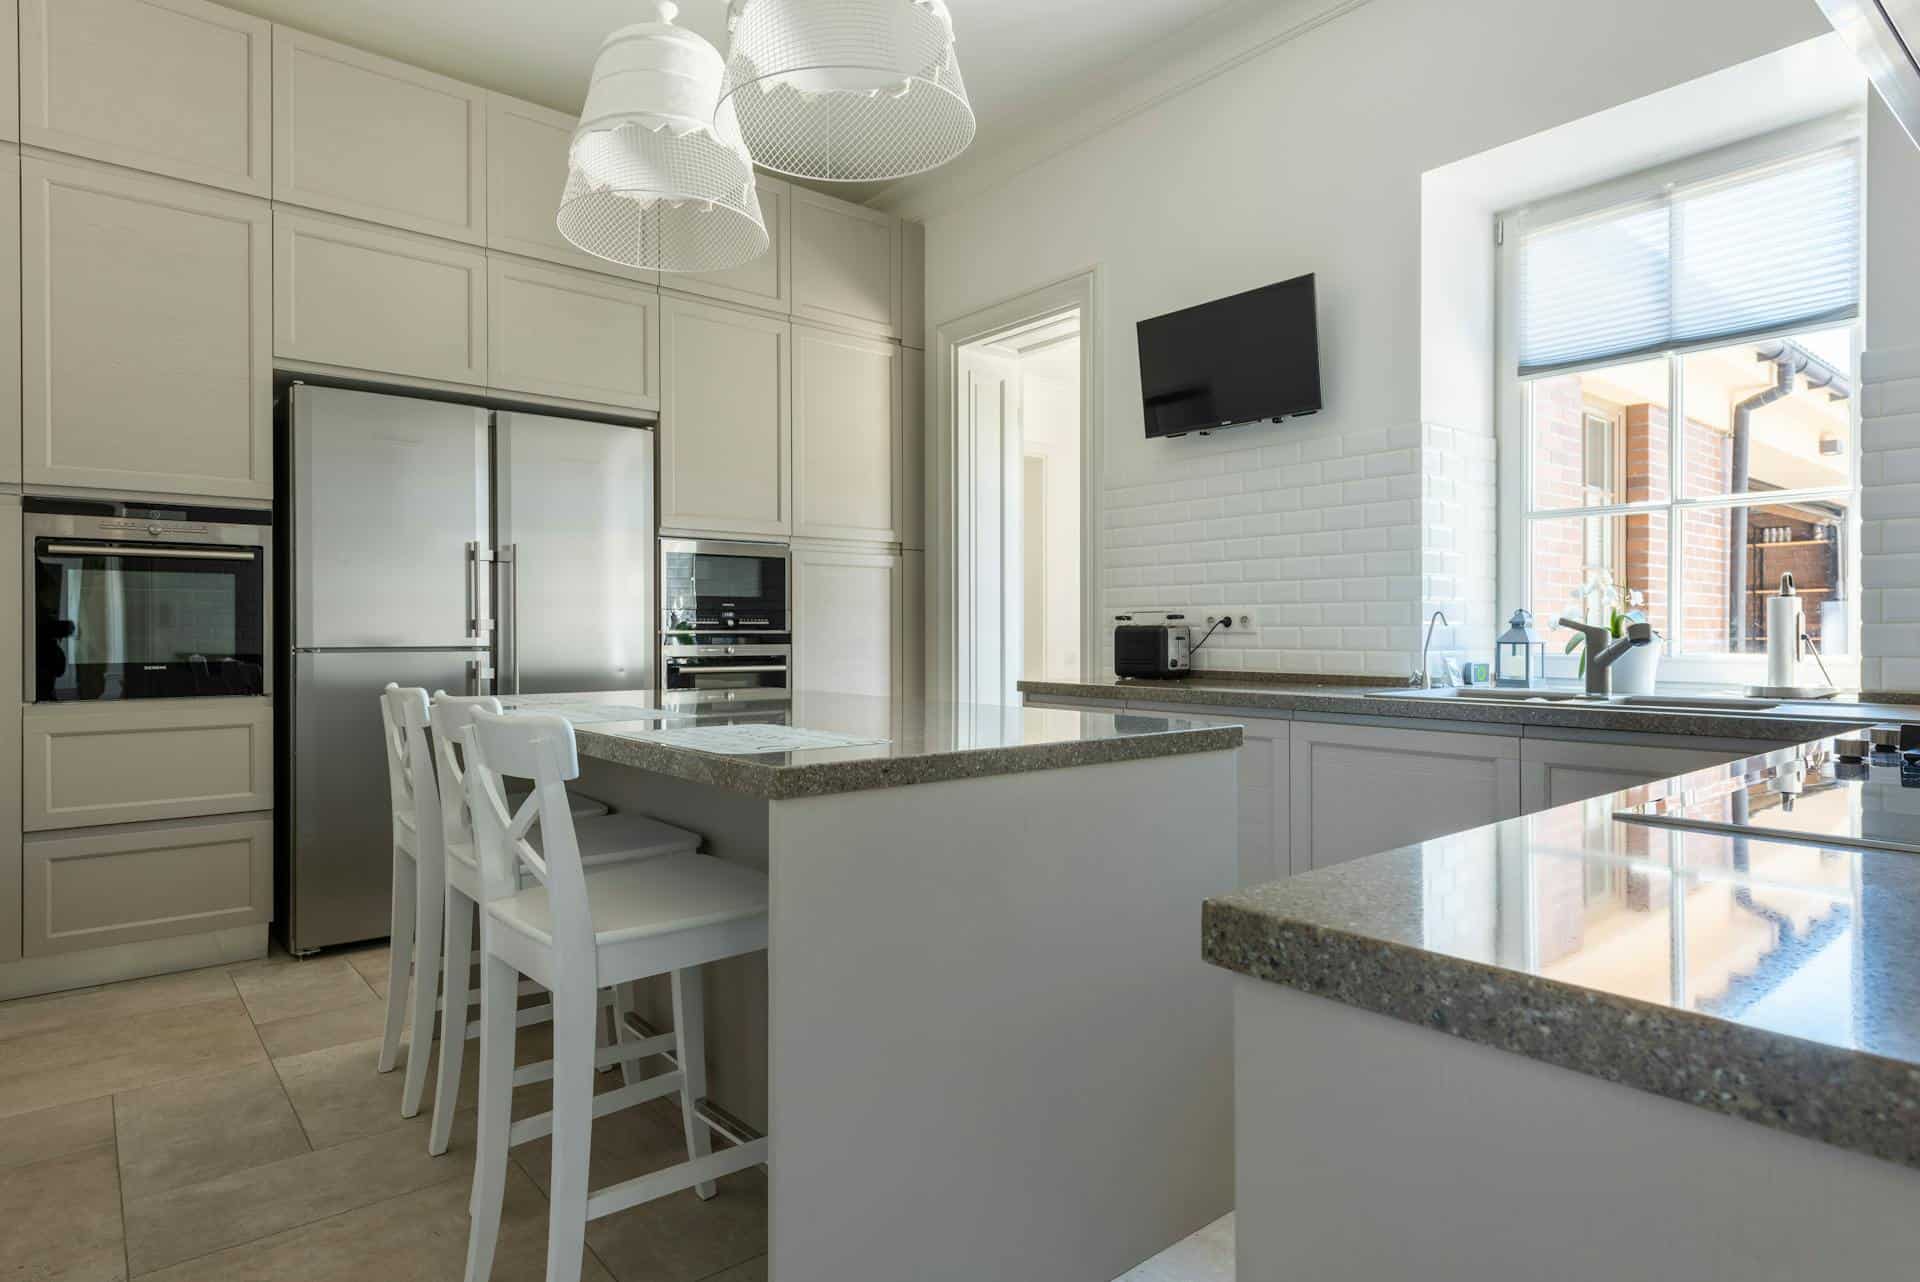
Question: How Do You Ventilate a Built-In Refrigerator?
Answer: To ventilate a built-in refrigerator ensure adequate airflow through the front grille and maintain the recommended clearances around the unit, as specified in the manufacturer’s instructions. This typically includes space at the top, sides, and rear.
Essential Airflow for Built-In Refrigerators
Built-in refrigerators offer a streamlined kitchen look. They sit flush with cabinets, creating a clean, integrated appearance. However, this sleek design requires specific ventilation. Unlike freestanding refrigerators, built-in models lack space around the unit for heat dissipation. Restricted airflow leads to overheating, reduced efficiency, and potential appliance damage. Understanding proper ventilation ensures optimal performance and extends the refrigerator’s lifespan. This guide provides clear, concise steps for effective built-in refrigerator ventilation.
Understanding Airflow Requirements
Built-in refrigerators generate heat, primarily from the compressor and condenser coils. These components require adequate airflow to release heat efficiently. Insufficient ventilation traps heat, forcing the compressor to work harder, consuming more energy and potentially shortening its lifespan. Airflow requirements vary by model. Consult your refrigerator’s installation manual for specific dimensions and clearance instructions.
Most built-in refrigerators require front-to-back airflow. Air enters through the bottom grille at the front and exits through the top grille, typically located above the door. Obstructions at the front or top restrict airflow, reducing cooling efficiency. Maintain clear pathways for unobstructed air movement.
Some models utilize side ventilation, requiring space between the refrigerator sides and adjacent cabinetry. Verify your refrigerator’s ventilation type before installation to plan the surrounding cabinetry accordingly. Ensure proper clearances for efficient heat dissipation.
Click here for more information on refacing kitchen cabinet doors Toronto
Related Article: Do Built-In Fridges Need Ventilation?
Rear Grille Ventilation
The rear grille, usually located at the top of the refrigerator, expels warm air. Ensure adequate clearance between the refrigerator back and the wall. Refer to the installation manual for the specific clearance requirements for your model.
Do not cover the rear grille with insulation or other materials. This restricts airflow and traps heat, reducing cooling efficiency and potentially damaging the appliance. Maintain an open space behind the refrigerator for proper ventilation.
In some installations, a ventilation duct connects the rear grille to an external vent. This allows the warm air to exhaust directly outside the house. If your refrigerator has a ducted ventilation system, ensure the duct is properly installed and free of obstructions.
Side Ventilation Requirements
Some built-in refrigerators utilize side ventilation. These models require specific clearances between the refrigerator sides and the adjacent cabinetry. Consult the installation manual for the recommended side clearances.
Insufficient side clearance restricts airflow, reducing cooling efficiency. Ensure enough space for air to circulate freely around the refrigerator sides. Proper side ventilation prevents heat buildup and ensures optimal performance.
If the required side clearances are not feasible within your cabinetry design, consider a model with front-to-back ventilation. This offers greater flexibility in installation, especially in tight spaces. Choosing the correct ventilation type simplifies the installation process.
Maintaining Ventilation
Regular maintenance ensures optimal airflow. Vacuum the front and rear grilles periodically to remove dust and debris. Clean the condenser coils, usually located at the back or bottom of the refrigerator, at least twice a year. Dusty coils reduce cooling efficiency and increase energy consumption.
Inspect the ventilation pathways regularly for obstructions. Remove any items that block airflow to the front or rear grilles. Ensure adequate clearance around the sides of the refrigerator if your model uses side ventilation. Regular inspection helps maintain consistent airflow.
Check the seals around the refrigerator doors. Damaged seals allow warm air to enter, forcing the compressor to work harder. Replace worn or damaged seals promptly to maintain optimal cooling efficiency and prevent energy waste.
Conclusion – How Do You Ventilate a Built-In Refrigerator?
Proper ventilation is crucial for built-in refrigerators. It ensures efficient operation, extends the appliance’s lifespan, and maintains optimal food preservation. By understanding the specific ventilation requirements of your refrigerator and following the installation instructions, you can create a suitable environment for optimal performance. Maintaining clear airflow pathways, cleaning grilles regularly, and inspecting door seals are essential for consistent and efficient cooling.
By following these guidelines, you can maximize your built-in refrigerator’s performance and longevity while enjoying its seamless integration within your kitchen design. Remember, proper ventilation is an investment in both the appliance’s performance and the overall efficiency of your home.

Blue Malue Get in touch with Blue here.
