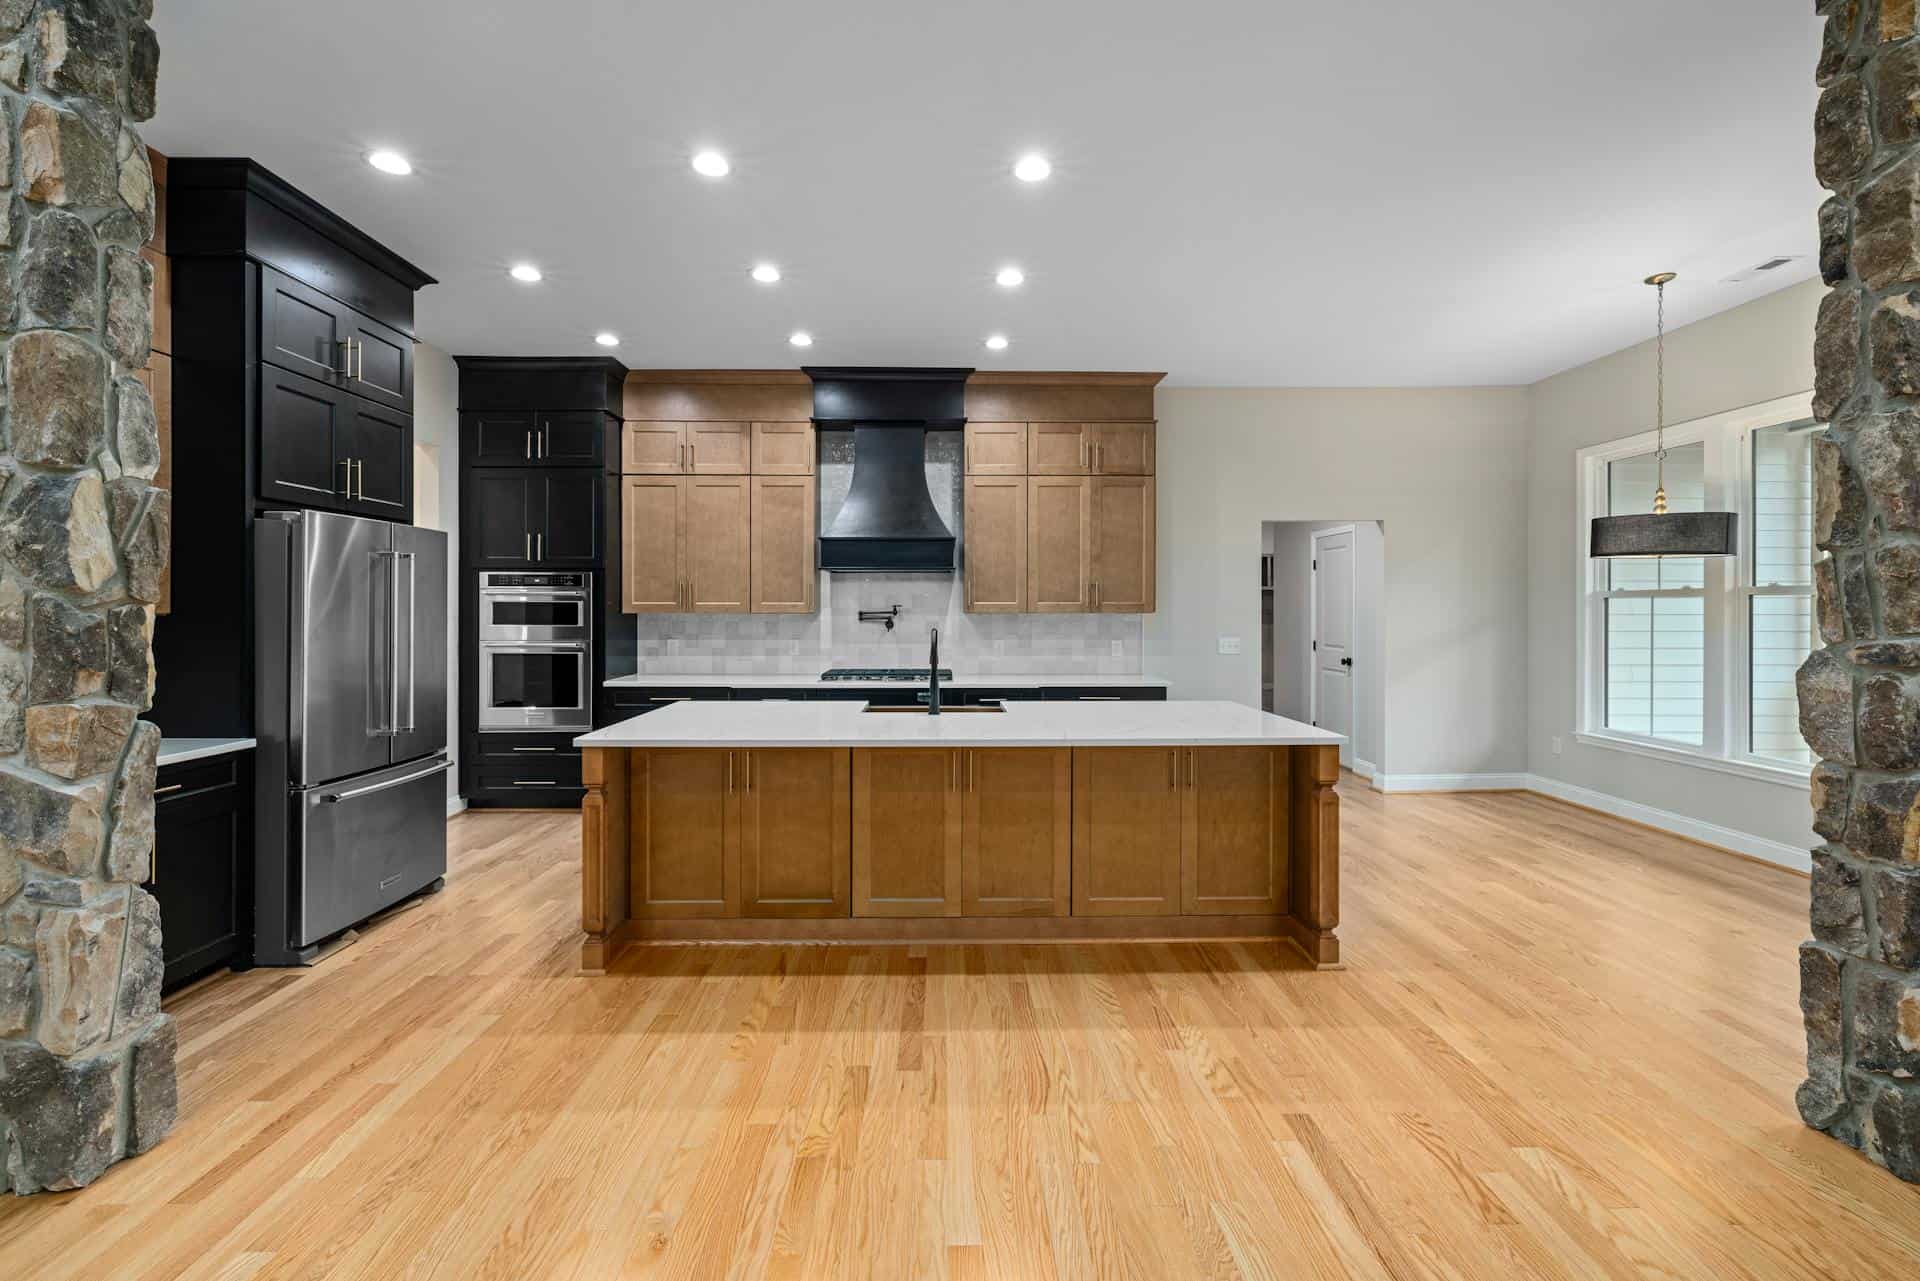
Question: How to Change a Kitchen Floor on a Budget?
Answer: To change a kitchen floor on a budget explore affordable options like peel-and-stick vinyl tiles, laminate flooring, or painting existing subfloors. Prepare the surface well and DIY installation to minimize costs.
Update Your Kitchen Floor Without Breaking the Bank
Ready to give your kitchen a facelift? You’d be surprised how much a new floor can change the whole vibe! But let’s be real, nobody wants to spend a fortune. The good news is, you don’t have to! We’re going to show you how to update your kitchen floor without blowing your budget. Think affordable options, easy DIY tips, and a kitchen you’ll absolutely love. This guide is all about getting you the results you want, without the stress of overspending. Let’s make your kitchen dreams a reality!
Evaluate Your Current Kitchen Floor
Before you begin, assess your current floor. Note its material, condition, and size. Accurate measurements help determine the quantity of new flooring you need. Measure the length and width of your kitchen, multiply them together to get the square footage. Add 10% extra for cuts and waste. Knowing your existing floor type aids in choosing a compatible replacement. For example, laying peel-and-stick vinyl over existing vinyl is often possible, saving you demolition time and cost.
Inspect your subfloor for damage. A damaged subfloor requires repair before installing a new floor. This adds to your project’s cost and time, so factor that into your budget and schedule. Consider the demands of your kitchen. Choose a durable, water-resistant flooring material for high-traffic areas and spill-prone zones. Consider factors like pets, children, and cooking habits when making your selection.
Click here for more information on refacing kitchen cabinet doors Toronto
Related Article: What is the Most Durable Material for a Kitchen Floor?
Related Article: What is the Least Slippery Kitchen Flooring?
Prepare the Kitchen and Subfloor
Clear the kitchen completely. Remove appliances, cabinets, and furniture. This creates a clean, safe workspace. Prepare the subfloor. Ensure its level and smooth surface. Repair any cracks or damage. Clean the subfloor thoroughly to remove debris and ensure proper adhesion of your new flooring. A clean subfloor guarantees a smooth, even finish for your new flooring. For uneven subfloors, use a self-leveling compound to create a flat surface.
Gather your tools and materials. Having everything on hand simplifies the installation process. Basic tools include a measuring tape, utility knife, and safety glasses. You might need specialized tools depending on your chosen flooring. Rental options can save you money on tools you use infrequently. Read the manufacturer’s instructions for your specific flooring material. This provides crucial guidance for a successful installation. Understanding the process before you begin avoids costly mistakes.
Install Your New Kitchen Floor
Follow the manufacturer’s instructions carefully. Begin installing the flooring from the center of the room and work outward. This ensures a balanced look and minimizes cuts at the edges. Use spacers to maintain consistent gaps between tiles or planks. These gaps allow for expansion and contraction due to temperature changes. For vinyl or laminate, score and snap the pieces for clean cuts. Use a wet saw for ceramic tile cuts for accurate, chip-free edges. Take your time and focus on precision. A rushed job can lead to uneven seams and a less professional finish.
Address transitions between rooms. Use transition strips to create a smooth, finished look where your new floor meets other flooring types. Clean up excess adhesive or grout promptly. This prevents hardened residue from marring your new floor’s appearance. Allow the adhesive to dry completely before moving appliances and furniture back into the kitchen. This ensures a secure bond and prevents damage to the new flooring.
Maintain Your New Kitchen Floor
Regular cleaning keeps your new floor looking its best. Sweep or vacuum to remove dirt and debris. Mop with a suitable cleaner for your flooring type. Avoid harsh chemicals that can damage the finish. Use floor protectors under heavy appliances and furniture to prevent scratches and dents. Place mats near entryways to trap dirt and moisture. Address spills promptly to prevent staining. Regular maintenance extends your floor’s lifespan and preserves its beauty.
Periodically inspect your floor for signs of wear or damage. Address any issues promptly to prevent further deterioration. Consider applying a sealant or protective coating to enhance durability and water resistance. Follow manufacturer recommendations for specific care and maintenance instructions. Proper care ensures your new kitchen floor remains a beautiful and functional part of your home for years to come.
Enjoy Your Updated Kitchen
Changing your kitchen floor can significantly update your home’s aesthetic and functionality on a budget. Careful planning, material selection, and installation result in a beautiful, long-lasting floor. By following these steps and choosing the right materials, you can transform your kitchen without exceeding your budget. Enjoy your newly updated, stylish kitchen! [ 1 ]
References
1. https://www.thespruce.com/inexpensive-kitchen-flooring-ideas-1315016

Blue Malue Get in touch with Blue here.
